How to Install Permanent Eave Lights: A Practical Guide for Installers
TOPBEDA Lighting · Updated October 21, 2026
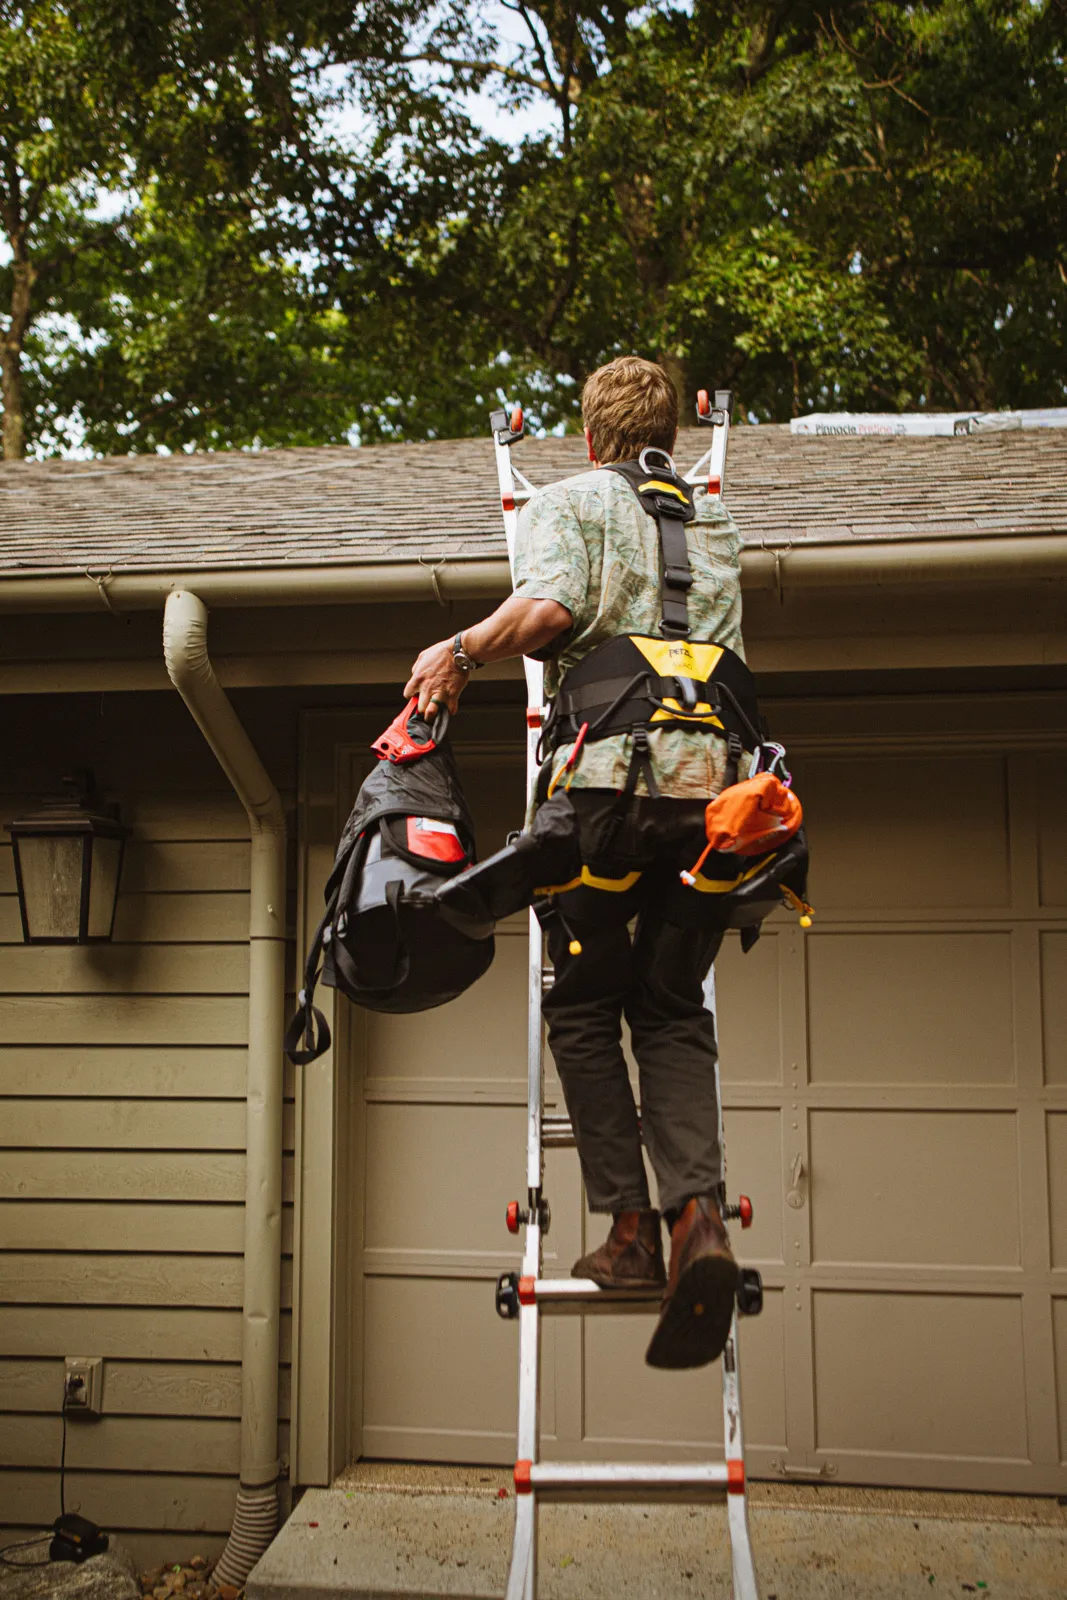
Permanent eave lighting turns a seasonal job into a year-round service: the lights stay on the roofline, are nearly invisible by day, and are controlled from an app for holidays, game days and everyday accent lighting. For installers, the quality of the installation decides whether the system looks clean for years or becomes a callback. This guide walks through the process we recommend to installation crews and dealers using 24V point-light systems such as our 24V permanent outdoor eave lights.
Exact figures such as maximum run length, power per light and spacing options depend on the model. Where this guide mentions a model-specific number, ask us for the spec sheet rather than relying on a general rule.
1. Survey the house and plan the layout
Good installations are decided before anyone climbs a ladder. During the site visit, record:
- Roofline length for each section (front, sides, garage, gables, peaks). Measure, do not estimate from photos.
- Mounting surface: fascia board, soffit, gutter lip, metal drip edge, brick or stucco. This decides track vs clips and fasteners.
- Power location: the nearest suitable indoor or protected outlet, usually in the garage or attic.
- Cable path: where the low-voltage lead can enter the roofline neatly, ideally hidden behind a downspout or inside a soffit vent area.
- Breaks in the roofline: corners, peaks and gaps that need jumper cables between sections.
- Customer expectations: warm white for everyday use, full color for holidays, and how visible the hardware may be in daylight.
Sketch each elevation and divide the roofline into runs. A run is a continuous chain of lights fed from one power point. Keeping runs within the model's recommended length is the single most important factor for even brightness and color.
2. Choose spacing (pixel pitch)
Spacing between lights changes both the look and the light count. Closer spacing gives a more continuous line and smoother animations; wider spacing reduces cost and power. Common practice is to keep one spacing for the whole visible front of the house so patterns look consistent. Our eave light systems can be produced with custom pitch for dealer programs; tell us your target look and we will recommend options.
3. Track (channel) vs clip mounting
| Track / channel | Clips | |
|---|---|---|
| Daytime look | Clean continuous line, can be color-matched to trim | Lights and cable more visible up close |
| Protection | Cable protected from UV, birds and debris | Cable exposed |
| Install speed | Slower: cut, fit, fasten track | Faster |
| Material cost | Higher | Lower |
| Best for | Premium jobs, visible front elevations | Budget jobs, hidden or high rooflines |
Whichever you use, fasten into solid material with corrosion-resistant screws, keep the lights level and aimed consistently (usually facing down or slightly outward toward the wall), and avoid mounting where gutters overflow onto the lights.
4. Plan 24V power and voltage drop
Low-voltage DC loses voltage along the cable. On a long run the last lights can become dimmer or show color shift, especially on white. 24V systems handle longer runs than 12V because, for the same power, current is half as high and losses are lower. Still, every system has limits:
- Stay within the maximum run length for the model. Ask us for the spec sheet with the recommended length and power-injection method.
- Inject power at the far end or the middle of long runs where the manufacturer recommends it.
- Size the power supply with headroom. A common practice is to load a supply to no more than about 80% of its rating.
- Use certified power supplies for the destination market. We supply adapters and power supplies with the plug type and certification required by your country.
5. Waterproof every connection
Most field failures in outdoor lighting start at connections, not at the lights. Follow these rules:
- Use the system's own sealed connectors and fully seat each one until the gasket is compressed.
- Point connectors downward or sideways, never with the opening facing up where water collects.
- Form a drip loop in cables before they enter a connector or the house so water runs off.
- Cap unused connector ends with the supplied waterproof caps.
- Keep the power supply and controller indoors or in a weather-protected enclosure.
The waterproof rating of the light itself matters too. Read our guide IP65 vs IP67 vs IP68 to understand what each rating tests.
6. Install step by step
- Bench test every reel and the controller on the ground before going up. Fixing a fault on the ground takes minutes; on a roof it takes much longer.
- Mount track or clips along each run, starting at the power entry point.
- Route the lead-in cable from the power supply location to the start of the run, through a sealed entry point.
- Install the lights, keeping consistent spacing and orientation. Leave service slack at corners.
- Connect jumpers across gaps and peaks, sealing each connection.
- Connect power and controller, power up and check every light for color and brightness, especially at the end of each run.
- Tidy and photograph the install. Photos of the cable path and connection points save time on future service calls.
7. Set up the controller and hand over
Most systems use a Wi-Fi or Bluetooth controller with a phone app. Before leaving the site:
- Connect the controller to the customer's network and app account.
- Set the number of lights and zones correctly so effects run in the right direction.
- Create a few presets: everyday warm white, the next holiday, and a team or brand color.
- Set schedules (for example dusk to 11 pm) so the customer sees value immediately.
- Show the customer how to change scenes and who to call for support.
App features and supported scene modes vary by controller model. Ask us for the controller manual and app screenshots for your dealer documentation.
8. Common mistakes to avoid
| Mistake | Result | Fix |
|---|---|---|
| Runs longer than recommended | Dim or color-shifted lights at the end | Split runs or inject power |
| Connectors facing up | Water ingress, intermittent failures | Orient down, add drip loops |
| Power supply outdoors unprotected | Early failure, safety risk | Mount indoors or in rated enclosure |
| Mixed spacing on one elevation | Uneven look and animations | One pitch per visible elevation |
| No bench test | Faults discovered on the roof | Test every reel before mounting |
9. Build a repeatable dealer package
Crews that scale permanent lighting standardize their kit: one light model, one or two spacing options, one controller, a known set of connectors and jumpers, and printed install notes. We support dealers with private label, packaging, spare parts and documentation. See our dealer program and OEM options.
10. Service and maintenance
A permanent system should need little attention, but planning for service protects your reputation. Keep a few spare lights, connectors and a spare jumper of each length in the van. Record the controller model, firmware version and number of lights per run for every job. If a single light fails, a system with replaceable segments and standard connectors lets you swap it in minutes instead of replacing a whole run. Once a year, a quick visual check of connectors, clips and the power supply area, ideally before the holiday season, catches loose fasteners and damaged cables early.
What to send us for a quote
To recommend the right model and quantities, send us: the target market (country and plug type), typical roofline length per job, preferred spacing, warm white only or full color, track or clip mounting, and whether you need private label packaging. We reply with model recommendations, the spec sheet and a volume quotation.
FAQ
Can permanent eave lights be installed without a track?
Yes. Many systems use clips screwed or adhered to the fascia or soffit. Track (channel) gives a cleaner look and better protection; clips are faster and cheaper. Choose per house and customer expectations.
How long can one 24V run be?
It depends on the model, LED count per light, brightness settings and cable gauge. Ask us for the spec sheet with the recommended maximum run length and power-injection points for the model you plan to use.
Where should the power supply be mounted?
Indoors or in a protected location such as a garage or attic, close to an outlet, with a short low-voltage lead to the roofline. Use a power supply certified for your market.
Do I need an electrician?
The system is low voltage on the roofline, but local codes for outlets, penetrations and outdoor wiring vary. Follow local regulations and use licensed electricians where required.
Related products
Planning a project?
Send us your market, quantity and requirements. We reply within 1 business day with model recommendations and the spec sheet.